“How To Care For Your Plum Trees All Year Long”
Introduction
Plum trees are a fruit-bearing tree known for their delicious, juicy fruit and beautiful blossoms. In this guide, we walk you through everything you need to know about plum trees.
Table of Contents
- Choosing the Right Plum Tree Variety
- Planting Plum Trees: A Step-by-Step Guide
- Essential Care Tips for Plum Trees
- Pruning and Training Your Plum Tree
- Common Problems and Solutions with Plum Trees
- How to Harvest and Enjoy Plum Tree Fruit
- Conclusion
Choosing the Right Plum Tree Variety
There are two main types of plum trees: European plums and Japanese plums. Each type has its own unique features and growing requirements.
European Plums
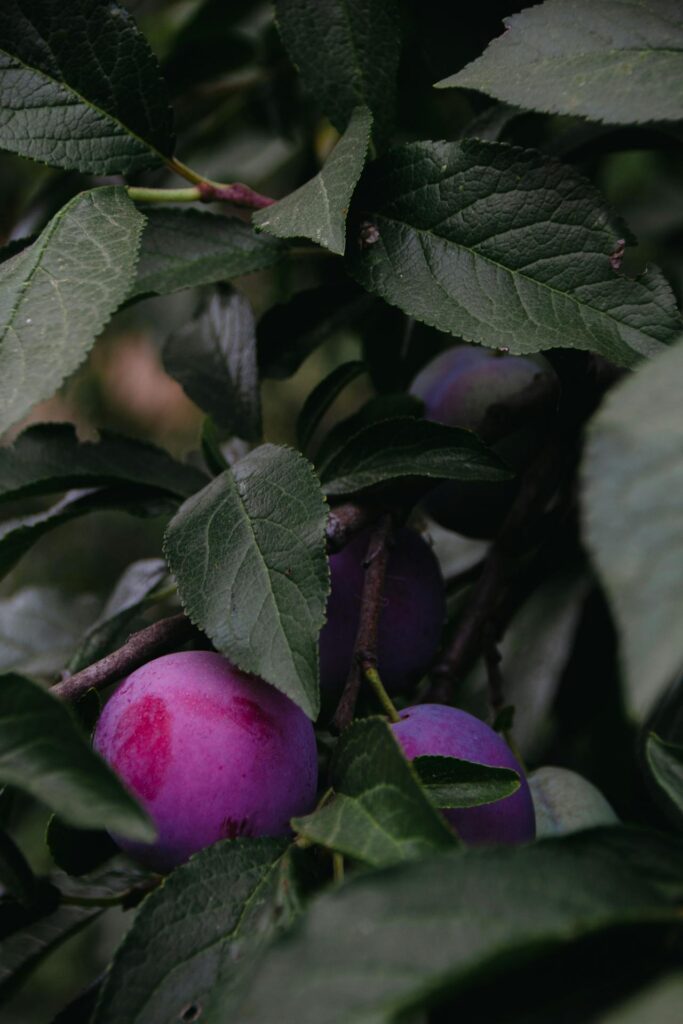
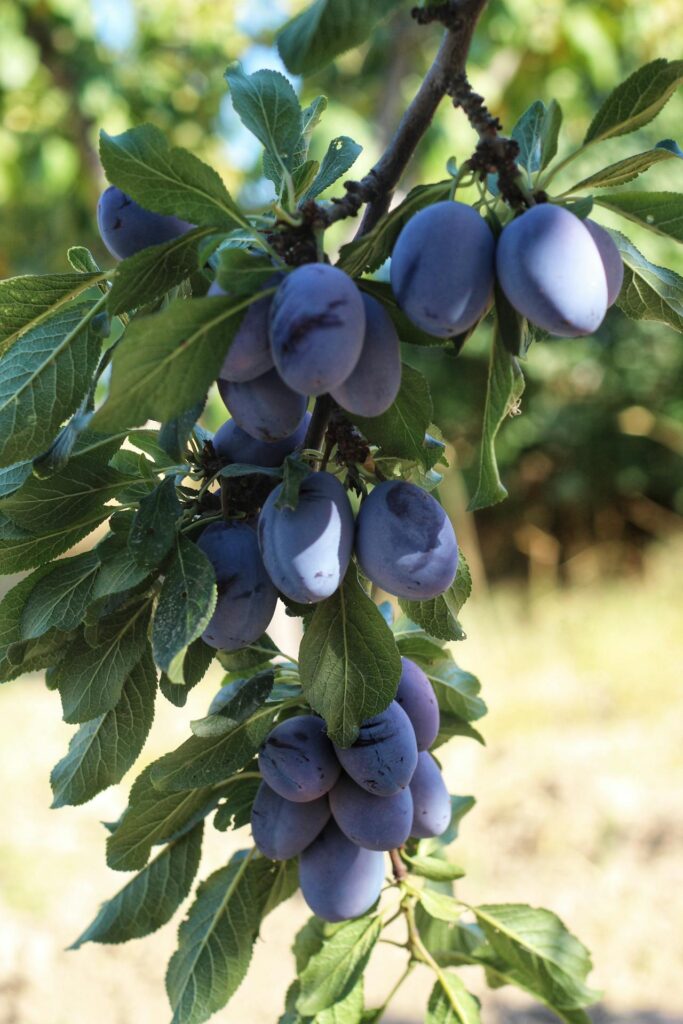
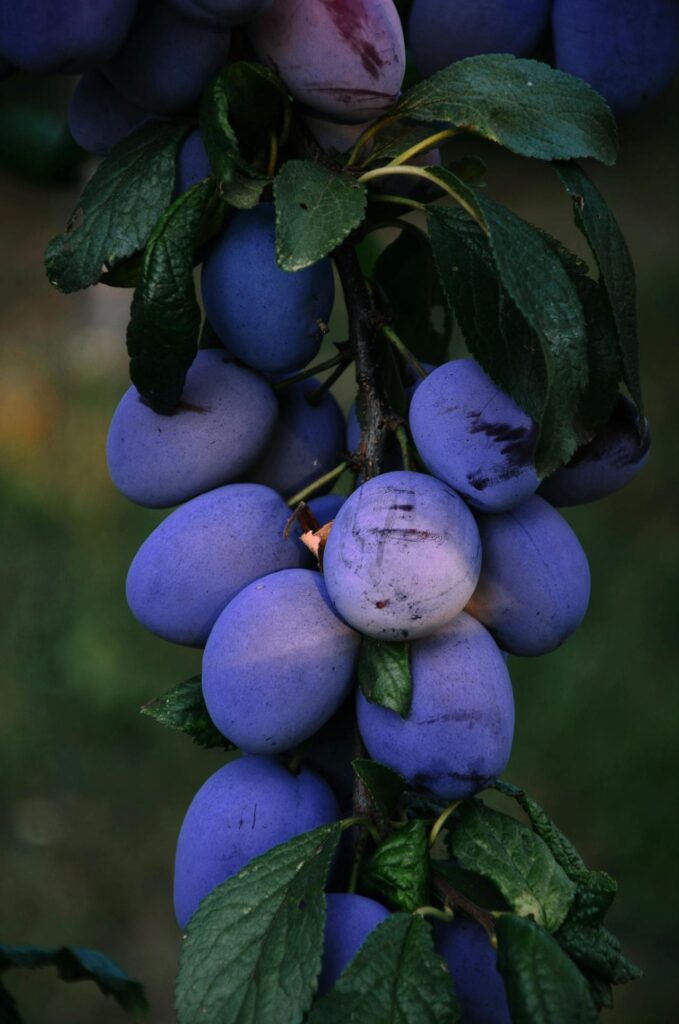
European plums (Prunus domestica) are known for their rich flavor and are used in making jams, jellies, and dried plums (prunes). These trees tend to be hardier and thrive in colder climates. They have a more oval shape and deep purple or blue skin. Some varieties of European plums include:
- Stanley: Known for its sweet, juicy fruit and excellent storage qualities.
- Damson: A tart variety used in jams and preserves.
- Empress: Large, sweet, and perfect for fresh eating.
Japanese Plums
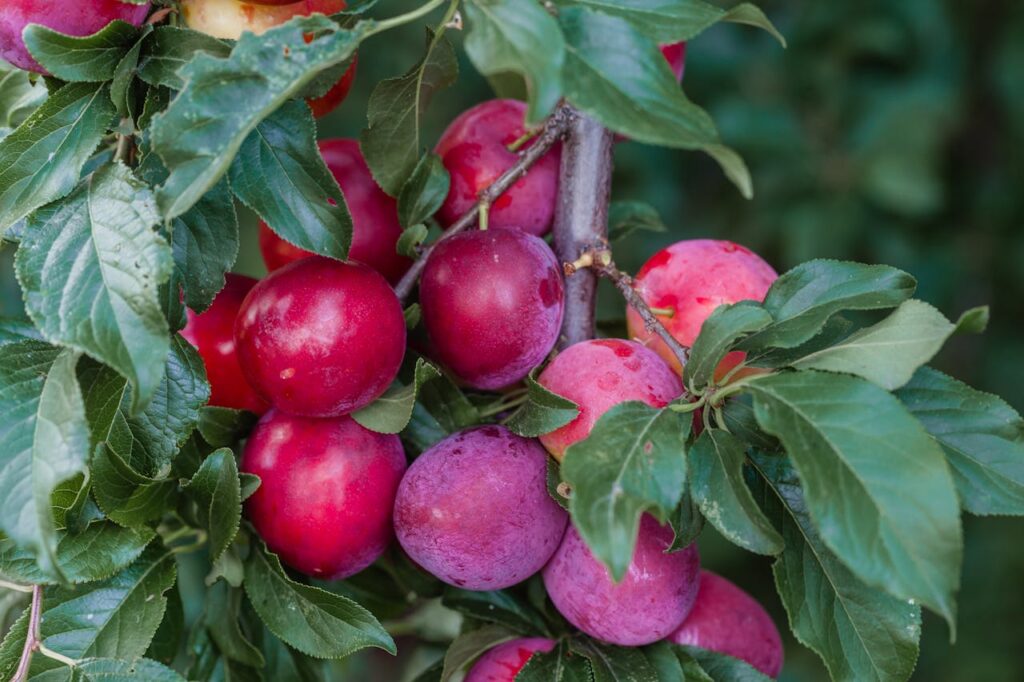
Japanese plums (Prunus salicina) are tender and suited for warmer climates. They have a rounded shape and can come in colors, from yellow to deep red. These plums are often eaten fresh and have a fragrant aroma than European plums. Popular varieties include:
- Santa Rosa: A widely grown, sweet and juicy variety.
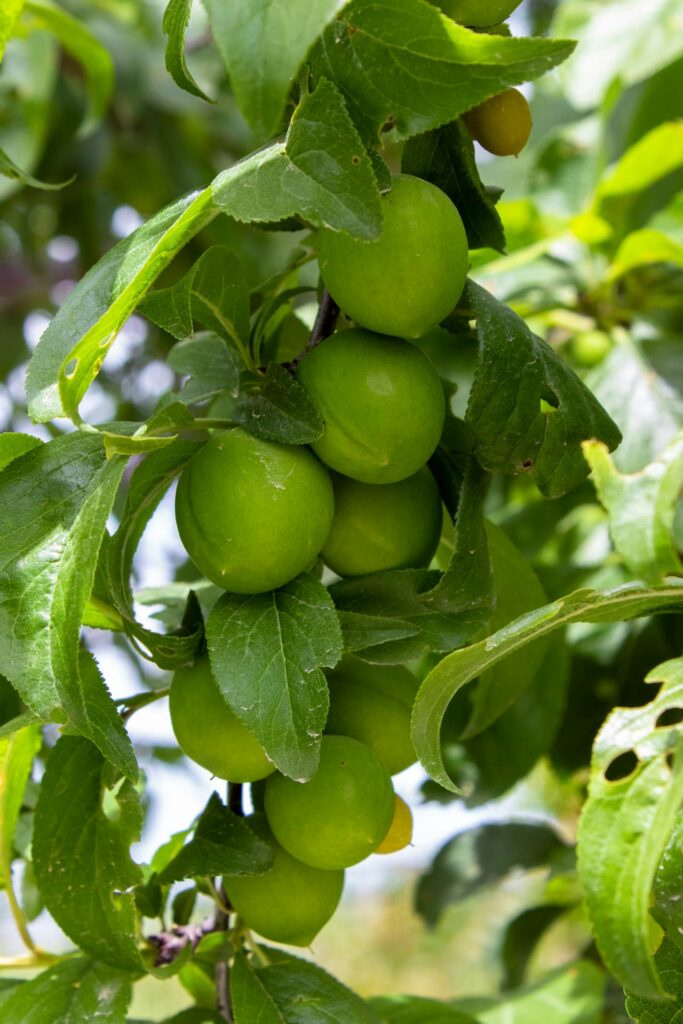
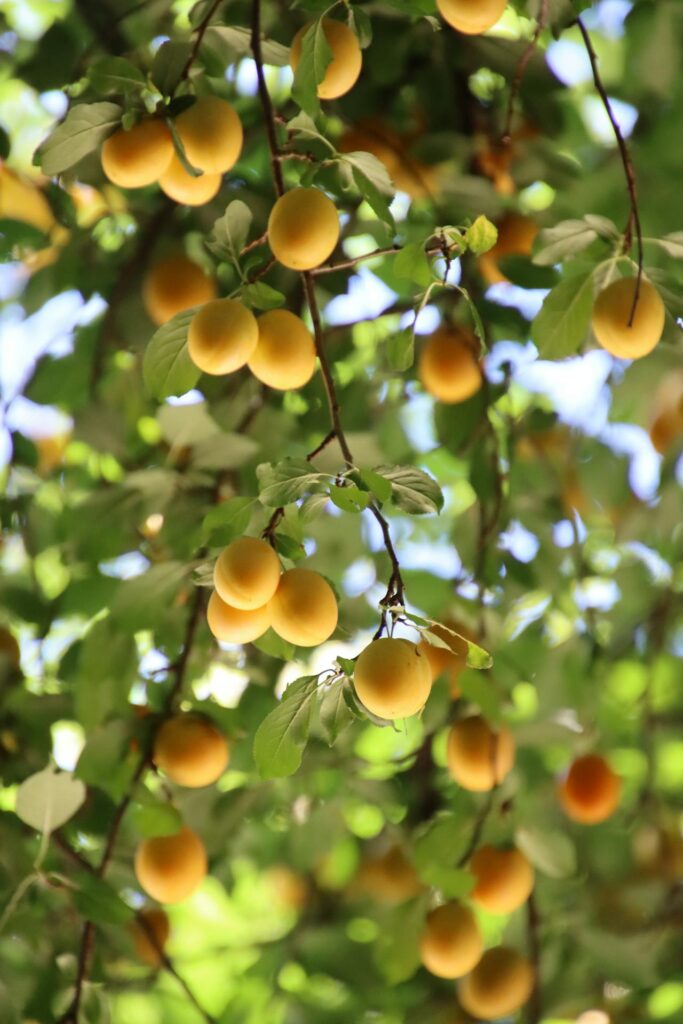
- Shiro: Known for its yellow plums with a sweet, mild flavor.
- Beauty: A sweet, round fruit that ripens early in the season.
Factors to Consider When Choosing Plum Trees:
- Climate: European plums perform better in cooler climates. Japanese plums thrive in warmer regions.
- Pollination Needs: Some plum trees are self-pollinating, while others need another tree for cross-pollination. Make sure to check the pollination requirements for the variety you choose.
- Fruit Use: Consider how you plan to use the fruit before making your selection.
Planting Plum Trees: A Step-by-Step Guide
Planting plum trees is important to ensure they grow and produce high-quality fruit. The right location, soil, and timing can make all the difference in how well your tree thrives. Here’s a step-by-step guide to planting plum trees:
Step 1: Choose the Right Location
Plum trees need plenty of sunlight to produce the best fruit. You should plant them in a spot that receives 6-8 hours of direct sunlight each day. Make sure the location is well-drained because plum trees do not like too much moisture.
When selecting a site, consider the following:
- Space: Plum trees can grow to be 15-20 feet wide, so ensure there’s enough room for the tree to spread.
- Air circulation: Plant your tree in an area with good air flow to reduce the risk of fungal diseases.
- Avoid frost pockets: Planting on a raised area can help avoid late frost damage.
Step 2: Prepare the Soil
Plum trees prefer loamy, well-drained soil. The soil should have a slightly acidic to neutral pH. A good pH is 6.0 to 7.0. Test your soil to ensure it is nutrient-rich and drains well. If the soil is heavy clay or poor in nutrients add organic matter like compost or well-rotted manure.
To improve soil drainage, mix in sand or perlite. If the soil is too acidic, raise the pH by adding lime. If the soil is too alkaline, add sulfur to bring it to the right pH level.
Step 3: Dig the Hole
Dig a hole that’s two to three times the size of the root ball of your young plum tree. Make sure the hole is deep enough that the root flare will be level with the surrounding soil. The root flare is the area where the roots meet the trunk. This prevents water from collecting around the base of the tree.
Step 4: Plant the Tree
Gently remove the plum tree from its pot. Be careful not to damage the tree roots. Place the tree in the center of the hole. Be sure that it is upright and the root flare is at ground level. Backfill the hole with the soil you removed. Make sure there are no air pockets around the roots.
Water the tree to help settle the soil. Ensure the roots make good contact with the surrounding soil. Mulch the base with a layer of organic material. Use wood chips or straw to conserve moisture and keep the soil temperature stable.
Step 5: Watering and Initial Care
Water the planted plum tree regularly for the first few months. Plum trees need moisture during the growing season. The trees don’t like soggy soil. Watering once a week is enough unless the weather is particularly hot or dry.
Watch the tree for signs of stress. The signs are wilting leaves or yellowing foliage. Adjust watering to ensure the soil remains moist and not waterlogged.
Step 6: Staking the Tree
Support your tree if it is tall or in a windy area. Use a flexible tree tie to attach the tree to a sturdy stake. Make sure the tie isn’t too tight to avoid damaging the bark. Once the tree establishes a strong root system and is stable, remove the stakes.
Essential Care Tips for Plum Trees
Regular watering, feeding, and mulching can improve growth and fruit yield.
Watering
Plum trees are drought-tolerant but they need regular watering during dry spells. Ensure the tree gets about 1 inch of water per week. Water the tree to encourage the roots to grow deep into the soil. Avoid shallow watering which can result in a weak root system.
Fertilizing
Plum trees need proper nutrition to thrive. Use a balanced fertilizer that is high in nitrogen and potassium. Apply a slow-release fertilizer for fruit trees early in the growing season. Avoid fertilizing late to discourage growth that will be vulnerable to frost damage.
Avoid over-fertilizing that leads to excessive vegetative growth at the expense of fruit production.
Mulching
Mulching around the base of your plum tree to keep moisture, suppress weeds, and regulate soil temperature. Use organic materials like wood chips, bark, or straw, applying a 3-4 inch layer around the root zone. Make sure not to pile the mulch directly against the trunk of the tree. Mulch adds nutrients to the soil as it breaks down.
Monitoring for Pests and Diseases
Plum trees can be susceptible to a variety of pests and diseases. Regularly inspect your tree for common issues. Inspect the tree for aphids, mildew, plum curculio, and fungal diseases.
- Aphids: These small insects can weaken the tree by sucking sap from leaves and branches. Control aphid infestations with predators like ladybugs or by spraying with insecticidal soap.
- Plum Curculio: This pest targets the fruit of the tree. It can be controlled by removing and disposing of infected fruit. Applying an organic pesticide at the right time can help keep curculio at bay.
- Brown Rot: A fungal disease that affects ripening fruit, causing it to rot. To prevent brown rot, prune infected branches and ensure good air circulation around the tree. Consider applying a fungicide as a preventive measure during bloom time.
Pruning and Training Your Plum Tree
Proper pruning ensures air circulation, reduces the risk of disease, and encourages the tree into fruit production.
When to Prune
The best time to prune is during the dormant season. In late winter or early spring before new growth begins. Pruning during dormancy helps reduce the risk of diseases.
How to Prune
Here are some general pruning tips to help you shape and maintain a healthy plum tree:
- Remove Dead or Damaged Wood: Start by cutting out any dead, damaged, or diseased branches. This helps prevent the spread of disease and allows the tree to focus on healthy growth.
- Thin Out the Center: Plum trees benefit from an open center shape. It allows light and air to reach the interior of the tree. Cut back any inward-growing branches to promote an open structure.
- Remove Suckers and Water Sprouts: Suckers are shoots that grow from the base of the tree or from the roots. Water sprouts are fast-growing vertical shoots. Both can sap energy from the main tree, so remove them as soon as they appear.
- Encourage Horizontal Growth: To encourage fruit production, focus on training branches to grow horizontally rather than vertically. Horizontal branches are likely to bear fruit and are less likely to break under the weight of the fruit.
Training Young Plum Trees
It’s important to train them to grow with a central leader and evenly spaced branches. Using soft ties to guide the branches into the desired position. It can help establish the tree’s shape and structure early on.
Inspect your tree for branches that are crossing or rubbing against each other. Rubbing branches create wounds that lead to disease.
Common Problems and Solutions with Plum Trees
Understanding the problems and how to address them is important for keeping your tree healthy and productive.
1. Blossom Drop
One common problem with plum trees is blossom drop. This occurs when the tree drops its blossoms prematurely. Before they have a chance to be pollinated and develop fruit. Common causes of blossom drop include:
- Temperature fluctuations: Late frosts can damage blossoms.
- Excessive heat: High temperatures can cause the tree to shed flowers.
- Nutrient imbalance: Poor soil or over-fertilizing can lead to stress.
Choose a variety suited to your climate to prevent blossom drop. Ensure the tree is adequately watered and fertilized. Consider using a frost cover during late spring frosts to protect blossoms.
2. Fruit Cracking
Plum trees can develop cracked fruit. It is caused by sudden changes in weather. Cracked fruit is vulnerable to diseases and pests.
To prevent fruit cracking:
- Water consistently: Avoid letting the tree dry out, then flood it with water during a dry spell.
- Mulch: Helps maintain even soil moisture levels.
- Harvest early: If you notice fruit is cracking, harvest it as soon as it begins to ripen to prevent further damage.
3. Leaf Curl
Leaf curl is a fungal disease that causes the leaves of your tree to curl and turn reddish. It is spread by rain and high humidity. The disease can damage the tree’s ability to photosynthesize.
To manage leaf curl, remove affected leaves and improve air circulation around the tree. Apply a fungicide in early spring before the buds open.
4. Poor Fruit Production
Plum trees are often self-pollinating. Many varieties produce better yields when cross-pollinated with another tree of a different variety.
Consider planting another plum tree nearby to improve pollination and fruit set. Ensure your tree is receiving enough sunlight, water, and nutrients to support fruit production.
How to Harvest Plum Tree Fruit
Plum harvesting is an exciting and rewarding part of the growing process. Here’s how to know when your plums are ready:
When to Harvest Plums
The best time to harvest plums depends on the variety and your local climate. Plums are ready to pick when they are fully colored and slightly soft to the touch. Here are signs that your plum tree fruit is ripe:
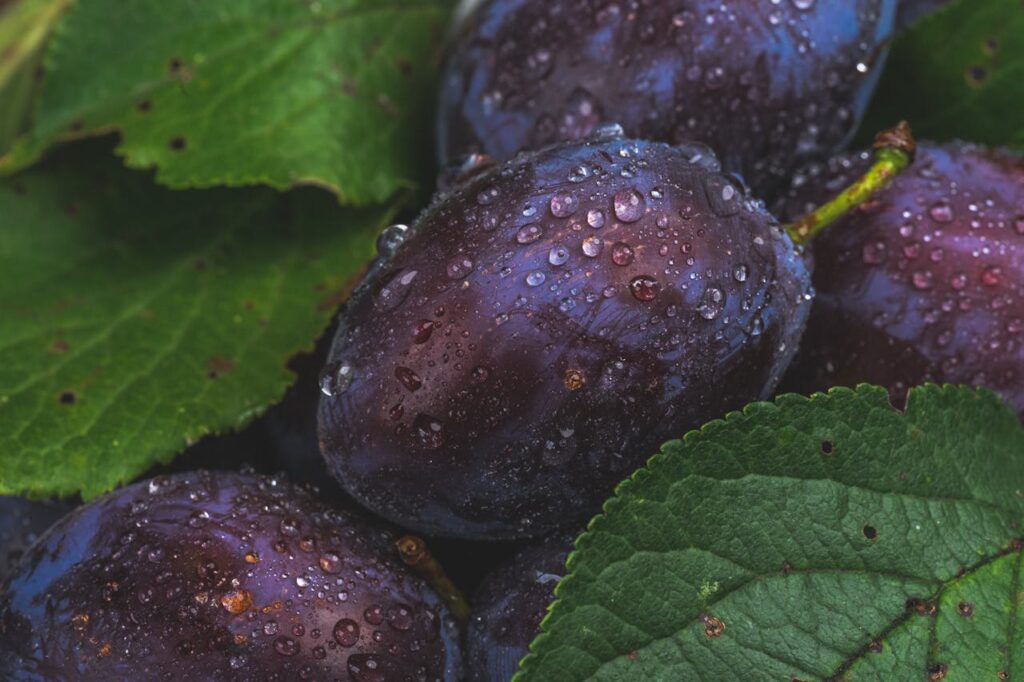
- Color: Look for the deep, rich color associated with your plum variety. European plums are typically dark purple. Japanese plums can range from yellow to red.
- Softness: Gently squeeze the fruit; it should give a little under pressure. Plums should be firm but slightly soft when ripe.
- Ease of Detachment: When plums are ripe, they will detach easily from the tree when gently pulled. If you have to tug hard, the fruit may need more time to ripen.
- Taste Test: The ultimate test is to taste a plum! If it’s sweet and flavorful, it’s likely ready to harvest.
How to Harvest Plums
To avoid damaging the tree or the fruit, use the following harvesting techniques:
- Pick by Hand: Grasp the plum gently by the stem and twist it slightly to detach it from the tree. Be careful not to bruise the fruit or damage the branch.
- Use Scissors for Hard-to-Reach Plums: If the plums are high up in the tree, use pruning shears to cut them from the branch. Avoid pulling too hard to prevent damaging the tree.
- Harvest in Stages: It’s a good idea to harvest your tree in stages. Check the tree regularly and pick ripe fruit while leaving unripe fruit to continue developing.
Storing Plums
Freshly harvested plums can last for about 3 to 7 days at room temperature.
- Refrigeration: Place ripe plums in the fridge to keep them fresh for up to one to two weeks. They’ll ripen more slowly in cold storage.
- Freezing: For long-term storage, plums can be frozen. To freeze plums, wash them, remove the pits, and cut them into halves or slices. Lay them out on a baking sheet to freeze individually before transferring them to a freezer-safe bag.
- Canning and Preserving: If you want to preserve your plums for longer periods. Consider canning the plums into jams, jellies, or preserves. This is a great way to enjoy your plums well into the winter months.
Conclusion
By following the proper planting and care techniques, you ensure that your tree produces abundant fruit year after year.
Remember to choose the right variety for your climate. Plant in well-drained soil, and provide plenty of sunlight and water for the best results. Regular pruning and pest management ensure a healthy and productive plum tree.
Here’s a quick recap of what we’ve covered so far:
- Choosing the Right Plum Tree Variety – Understanding the difference between European and Japanese plums and selecting the best variety for your climate and needs.
- Planting Plum Trees: A Step-by-Step Guide – A comprehensive guide to planting your plum tree, from site selection to initial care.
- Essential Care Tips for Plum Trees – Detailed care advice, including watering, fertilizing, mulching, and pest control.
- Pruning and Training Your Plum Tree – How to properly prune and train your plum tree for healthy growth and fruit production.
- Common Problems and Solutions with Plum Trees – Identifying and managing common issues such as blossom drop, fruit cracking, leaf curl, and poor fruit production.
- How to Harvest and Enjoy Plum Tree Fruit – The best time to harvest, how to properly pick the fruit, and different ways to enjoy and preserve your plums.